Featured Article
How to Make Potassium Aluminum Sulfate Crystals
basic alum crystal growing, pendant finishing, and a realistic look at what printer automation can help with
This post is about growing potassium aluminum sulfate crystals by hand, figuring out what actually works through a fair amount of trial and error, and then turning one of the better crystals into a pendant. At the end, there is a bonus section for process automation using a 3D printer, which I do not recommend.
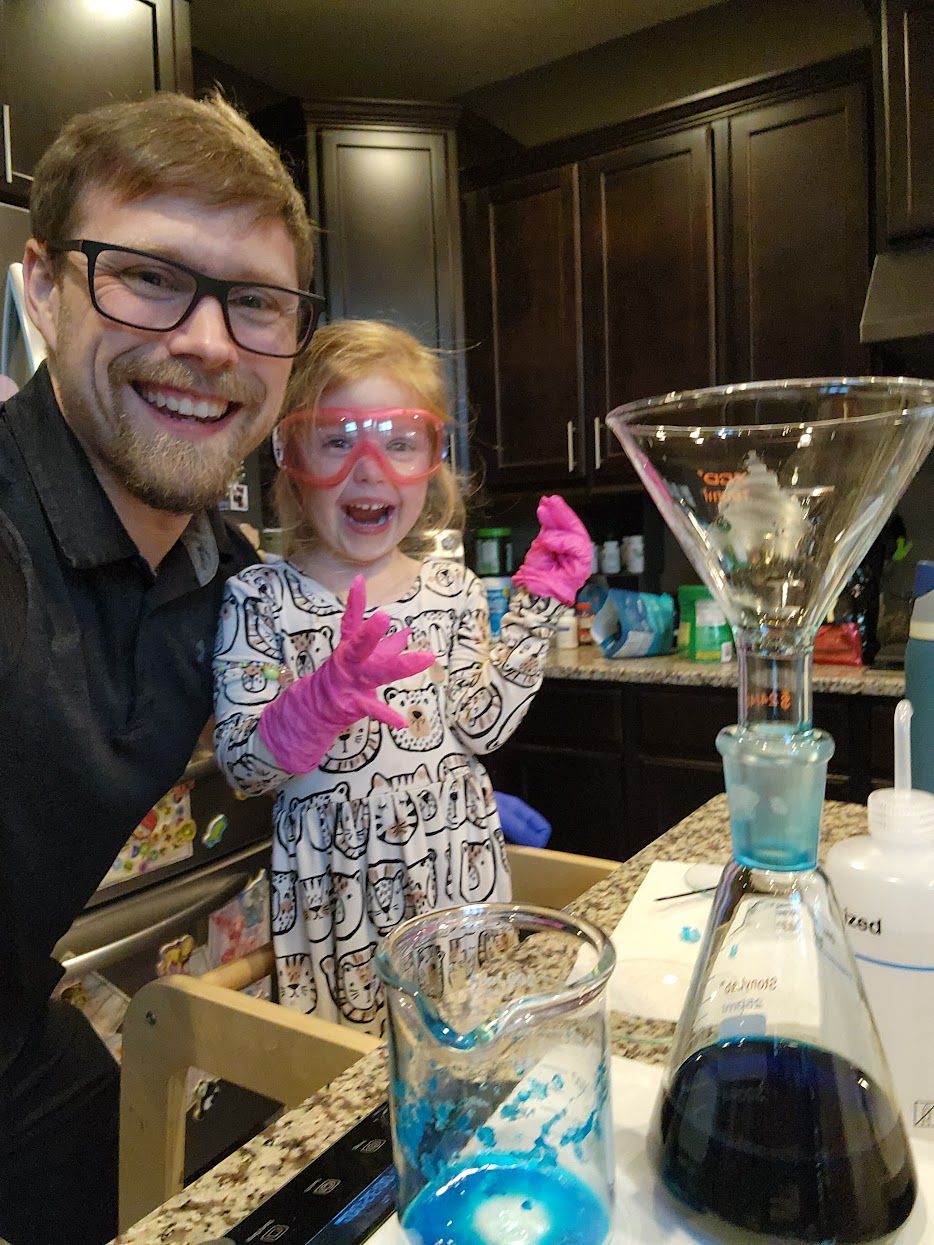
The project started because my daughter found a crystal-growing kit in a gift shop, and it seemed like a fun way to combine my maker and science hobbies with her interests in jewelry and shiny things.
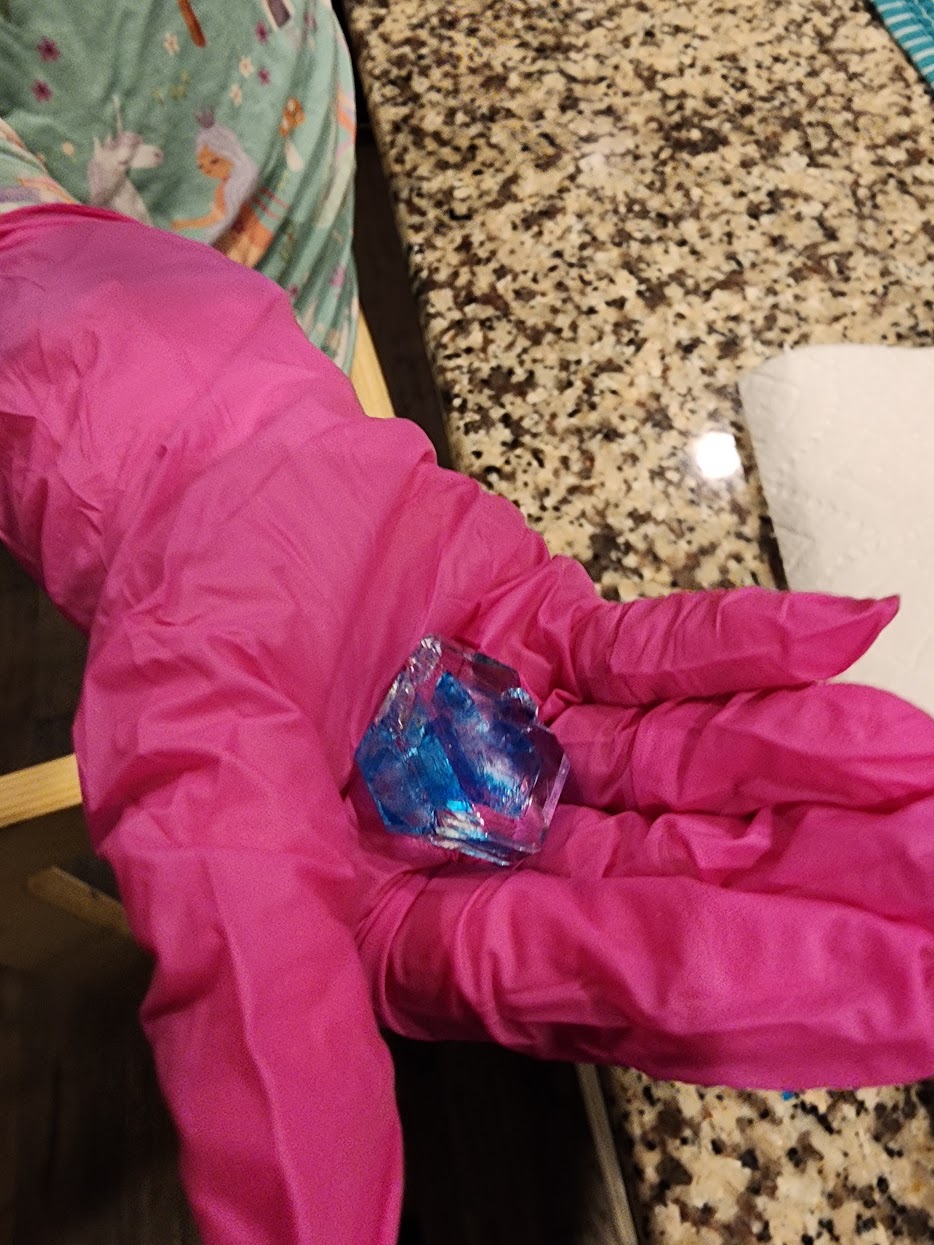
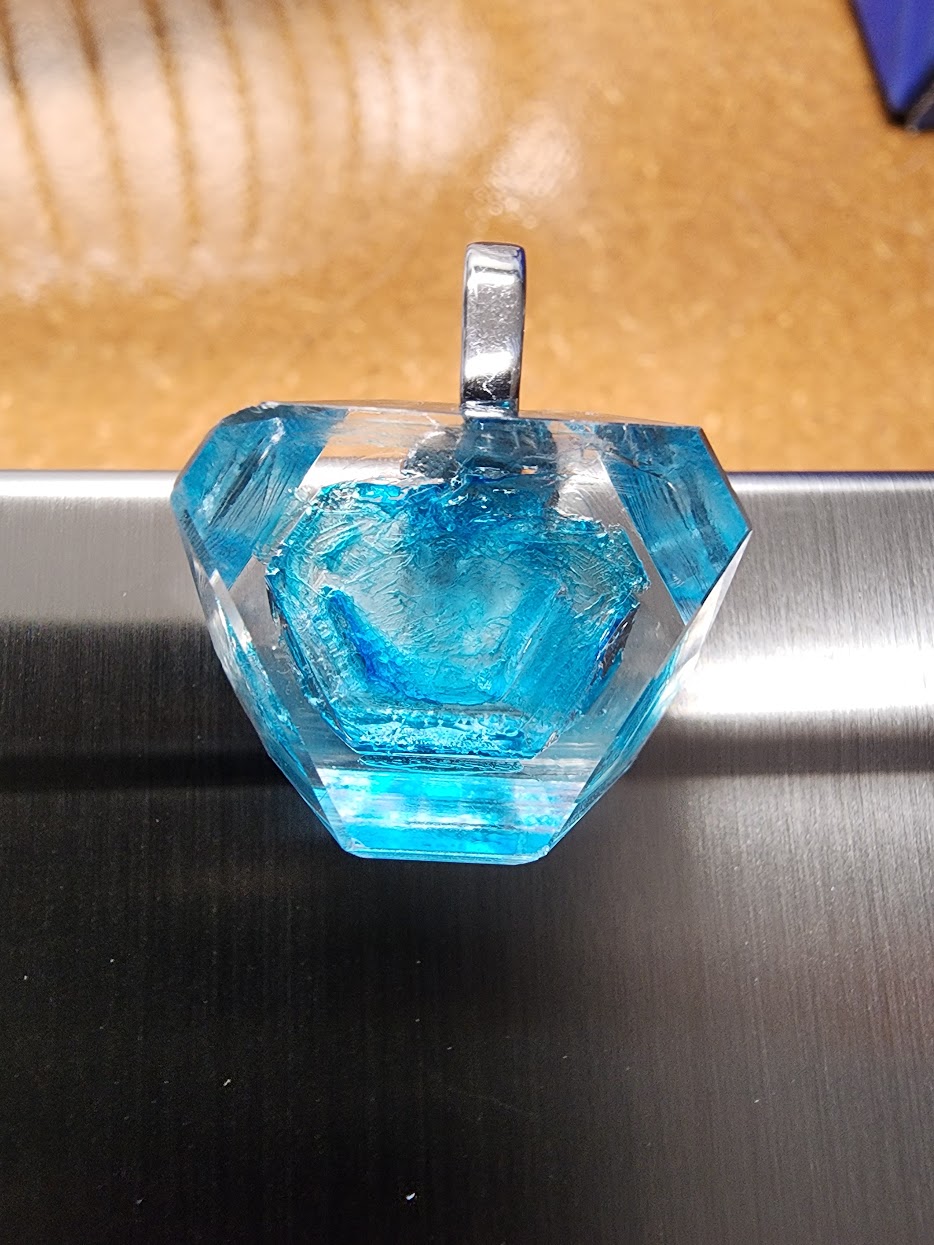
The first batch was completely manual: hot water, alum, coffee filters, fishing line, and a lot of hands-on experimentation at the kitchen counter. The blue necklace in this post came out of that hand-made process, not an automated rig.
After the first successful crystal, I went a little crazy with process refinements in the hacker spirit. I bought more raw potassium aluminum sulfate dodecahydrate and kept pushing the workflow toward cleaner seed crystals, better solution control, and eventually experiments with printer-driven heat, motion, and logging.
What Is Actually Going On
I did not want to do this as a pure recipe. I wanted to know what knobs actually matter and why the system works at all.
Potassium alum dissolves much better in hot water than in cold water. That is the whole game. You heat the water, dissolve as much alum as the solution will hold, and then let temperature or evaporation push the system past the point where that much dissolved material still makes sense.
At that point the solution is supersaturated. It is holding more dissolved alum than is stable at the current conditions, so the system starts looking for a lower-energy way out. That way out is crystal growth.
Nucleation Is Where It Goes Sideways
Crystals do not start everywhere at once. Nucleation is the activation barrier. Once a stable bit of lattice forms, growth is comparatively easy. The hard part is getting that first structure to start in the first place.
That is why nucleation sites matter so much. They are the places where the system finds an easier path through that barrier, and controlling how many of those sites appear is most of the battle.
- Too many nucleation sites means lots of tiny junk crystals.
- Very few nucleation sites means one or a few larger cleaner crystals.
- Once growth starts in too many places, the available alum gets split across all of them.
That is why fast cooling, dust, impurities, vibration, and rough surfaces all hurt you. They create more opportunities for the system to start crystallizing in the wrong place.
Growth Versus Chaos
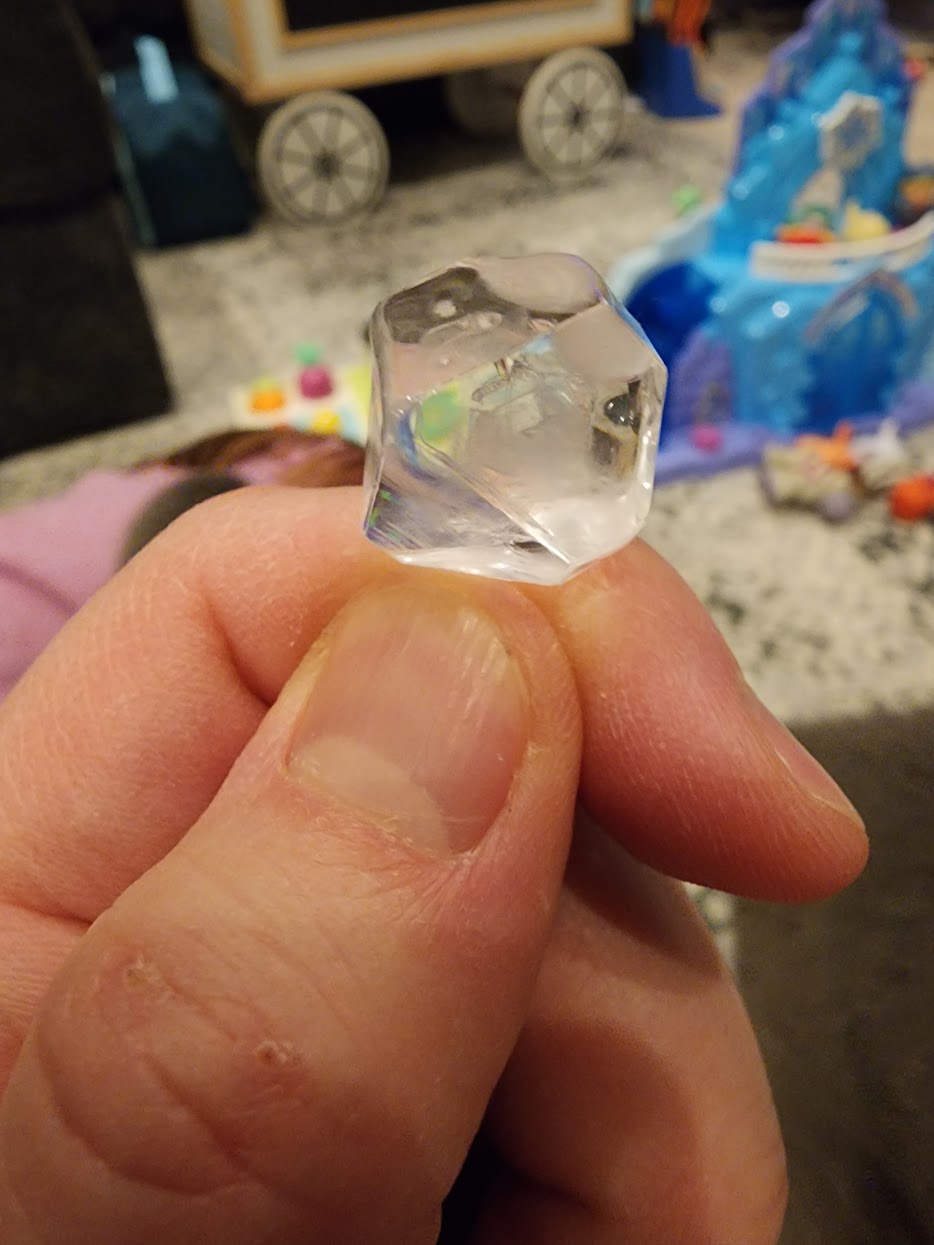
Once nucleation happens, the next tradeoff is speed versus quality. High supersaturation grows crystals fast, but they tend to come out rough and ugly. Lower supersaturation grows them more slowly, but the faces come out cleaner and more regular.
Alum tends to form octahedral crystals because of its underlying lattice symmetry, so when growth is clean you can see that geometry show up pretty clearly.
So the practical control problem is simple even if the chemistry underneath is not: you are tuning a system between throughput and structural coherence.
The Knobs That Actually Matter
- Temperature change rate: fast cooling creates lots of nucleation, slow cooling usually gives fewer and larger crystals.
- Evaporation rate: fast evaporation pushes the system too hard and makes growth messy.
- Disturbance: movement, vibration, and dust create new nucleation opportunities.
- Purity: cleaner solution means fewer accidental seeds.
- Growth vessel: use a smooth container with as few scratches and defects as possible, because walls and surface damage become nucleation sites.
- Seeding strategy: if you want one large crystal, make a seed on purpose and force growth to happen there.
Mental Model
A crystal is what matter does when it is trying to minimize energy under constraints. You create a system with too much dissolved material for the current conditions, and the system resolves that instability by snapping into a lattice because that is the lower-energy option available.
Once I started looking at it that way, crystal growing stopped feeling like a kit project and started feeling like a small materials-science experiment with a lot of trial and error.
What You Need
- Potassium aluminum sulfate dodecahydrate, sold as alum
- Distilled water
- A heat-safe glass jar or beaker
- A spoon or stir rod
- A coffee filter or fine filter paper
- Thread or thin fishing line
- A pencil or stick to suspend the seed crystal
- Optional food coloring if you want the dyed kit look
- For the pendant: clear acrylic spray, clear casting resin, a bail or jewelry finding, and adhesive appropriate for jewelry work
Safety
Wear eye protection, avoid ingesting the material, and keep the solution away from food-prep surfaces. Adult supervision is recommended if children are involved, mainly due to hot water and glass. Alum itself is low-toxicity and has been used in food preparation, but it is still not something you want to eat.
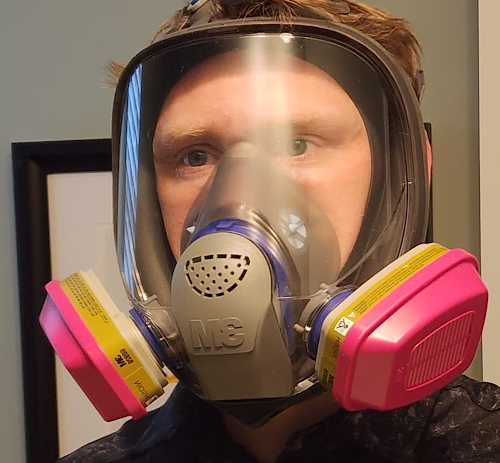
The acrylic spray and epoxy steps are a different category and not kid-friendly. Do those outdoors or in a genuinely well-ventilated setup. I used a respirator; for a 3M-style system, organic vapor cartridges are appropriate (e.g., 6001 with particulate prefilters or a combined OV/P100 cartridge like the 60921).
Avoid skin contact with uncured resin. Repeated exposure can sensitize you, meaning your immune system may start reacting more aggressively over time with rashes or dermatitis. Once that happens, even small exposures can become a problem.
1. Make a Hot Saturated Solution
Heat distilled water until it is hot but not violently boiling. The useful range for alum is about 176 to 194 °F (80 to 90 °C). Based on the Sigma-Aldrich solubility table, alum is around 72 g per 100 g water at 176 °F (80 °C) and around 109 g per 100 g water at 194 °F (90 °C), so I treated that range as the practical mixing window.
For a manageable batch, start with 250 g distilled water. At about 176 °F (80 °C), that means roughly 180 g alum for a strong solution. If you are working closer to 194 °F (90 °C), you can push toward 250 to 270 g alum in the same 250 g water, but only if you can keep it hot and filter quickly. Add the powder gradually while stirring until a tiny amount stops dissolving.
Filter the hot solution into a clean jar to remove dust and undissolved particles. Between transfers I used double to quadruple coffee filters, depending on how dirty the batch looked. That sounds excessive until you compare a clean run to a contaminated one. If you are using a kit and want the saturated-blue look, add the coloring after the solution is clear. If you are working from raw alum, keep the early batches colorless until you understand how your setup behaves.
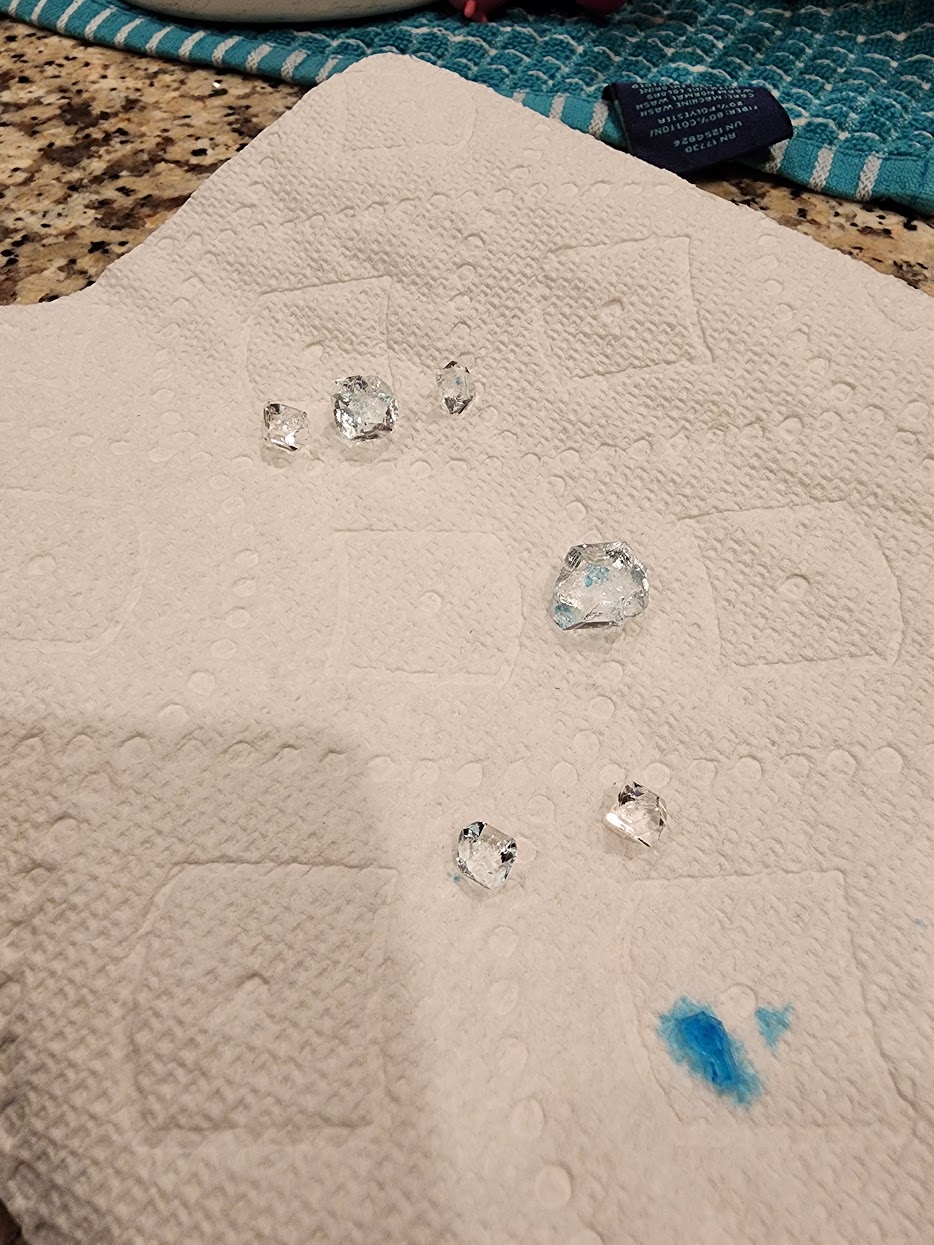
2. Grow Seed Crystals
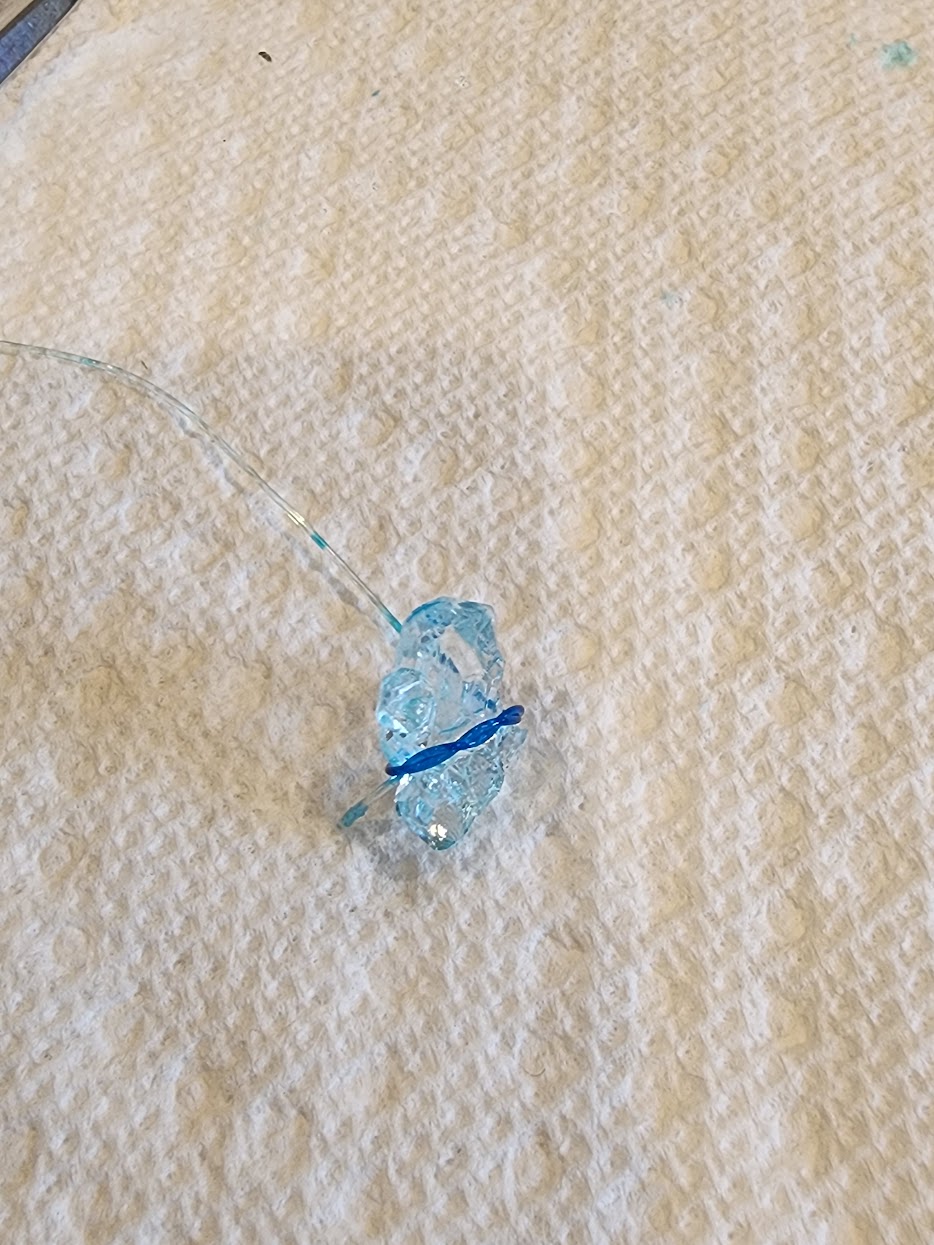
Let the filtered jar cool undisturbed. Over several hours, small crystals should begin to form. Pick one of the best-shaped crystals and let it dry briefly on a paper towel. Suspend it with thin fishing line or thread so it hangs freely and does not rest on the jar wall.
3. Prepare the Growth Jar
Make a fresh saturated solution the same way, then filter it into a second clean jar. Suspend the seed crystal in the center so it does not touch the sides or bottom. Cover the jar loosely with paper or foil to keep dust out while still allowing slow evaporation. For growth, I wanted the jar to cool gently toward room temperature, roughly 68 to 75 °F (20 to 24 °C), not crash cool.
4. Let the Crystal Grow
Place the jar somewhere stable with minimal vibration and a steady temperature. Over the next several days, dissolved alum will deposit onto the seed crystal. If crust forms on the surface or extra crystals start growing on the bottom, move the main crystal into a newly filtered solution.
The basic rule is simple: slow, clean, and boring usually wins. Aggressive cooling, dirty solution, or too much movement tends to produce cloudy growth and random junk crystals instead of sharp faces.
Basic Workflow That Works
- Filter more often than you think you need to.
- Keep the seed crystal centered and isolated.
- Use fresh saturated solution when the jar gets crusty or cloudy.
- Let temperature drift gently instead of forcing a fast cool-down.
5. Turn the Crystal Into a Necklace
Once you have a crystal worth keeping, let it dry fully and handle it as if it were fragile glass. Alum crystals are beautiful, but they are not durable enough for daily wear without protection. My approach was to seal first, then encapsulate.
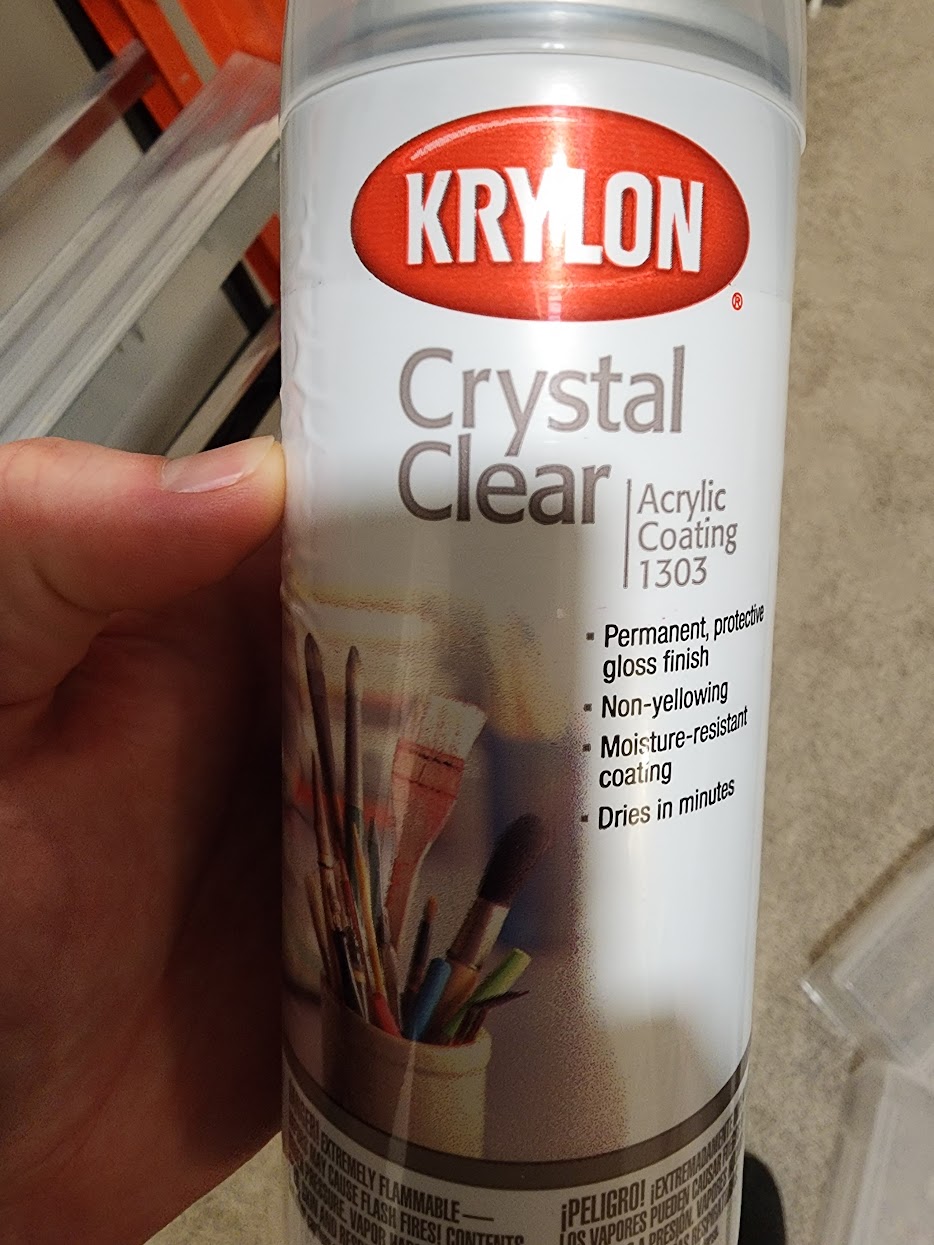
Spray the crystal with several light coats of clear acrylic instead of one heavy coat. Let each pass dry before the next. The point is not to make it bulletproof. The point is to buy yourself time and keep ambient humidity from immediately dulling the surface.
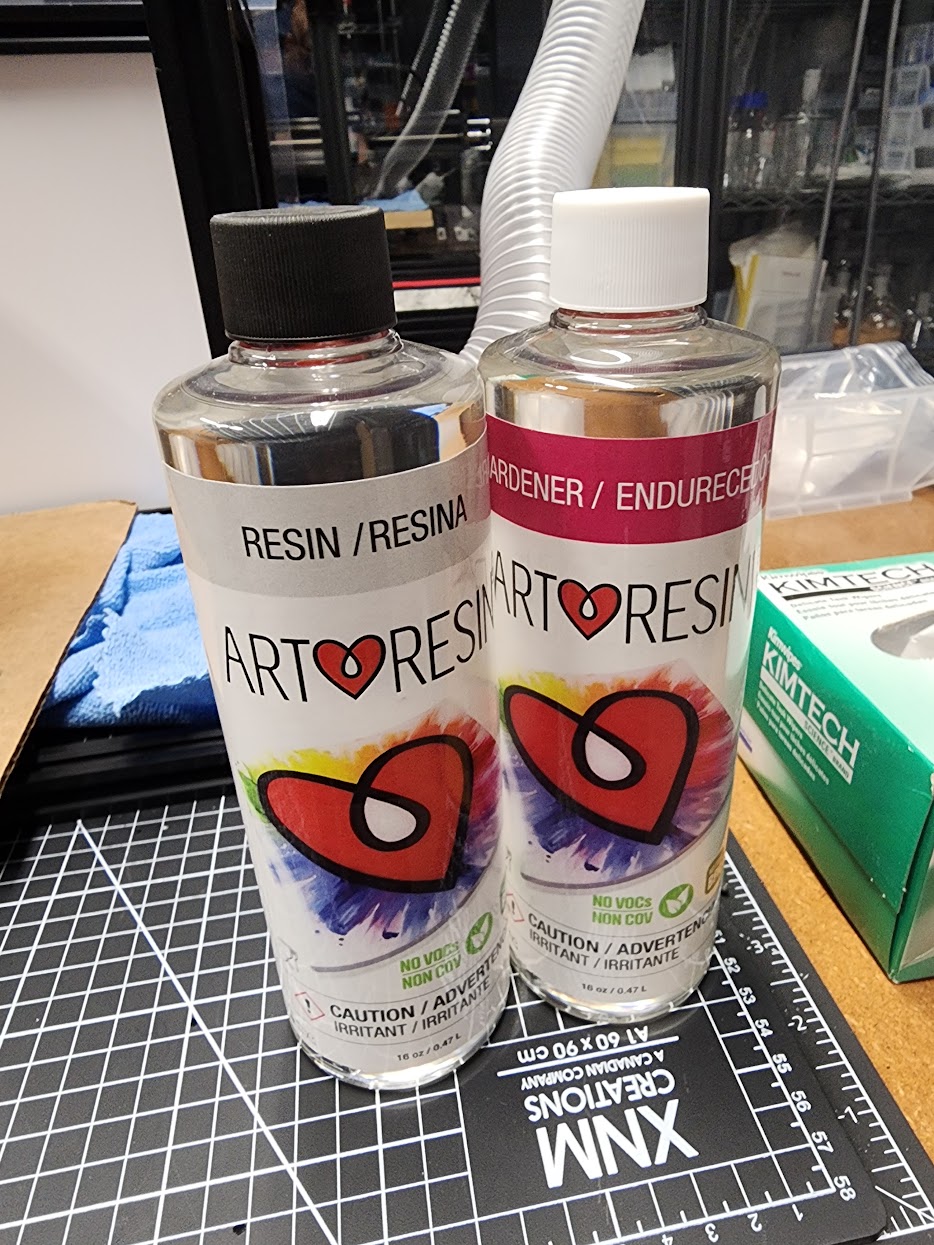
The ArtResin kit I used is a simple 1:1 system by volume. Measure equal parts resin and hardener, mix thoroughly, scrape the sides and bottom, and keep mixing until it looks completely uniform. Do not eyeball a half-cured tiny batch and hope for the best. If you are just encapsulating one pendant, a small carefully measured batch is enough, but the ratio still matters.
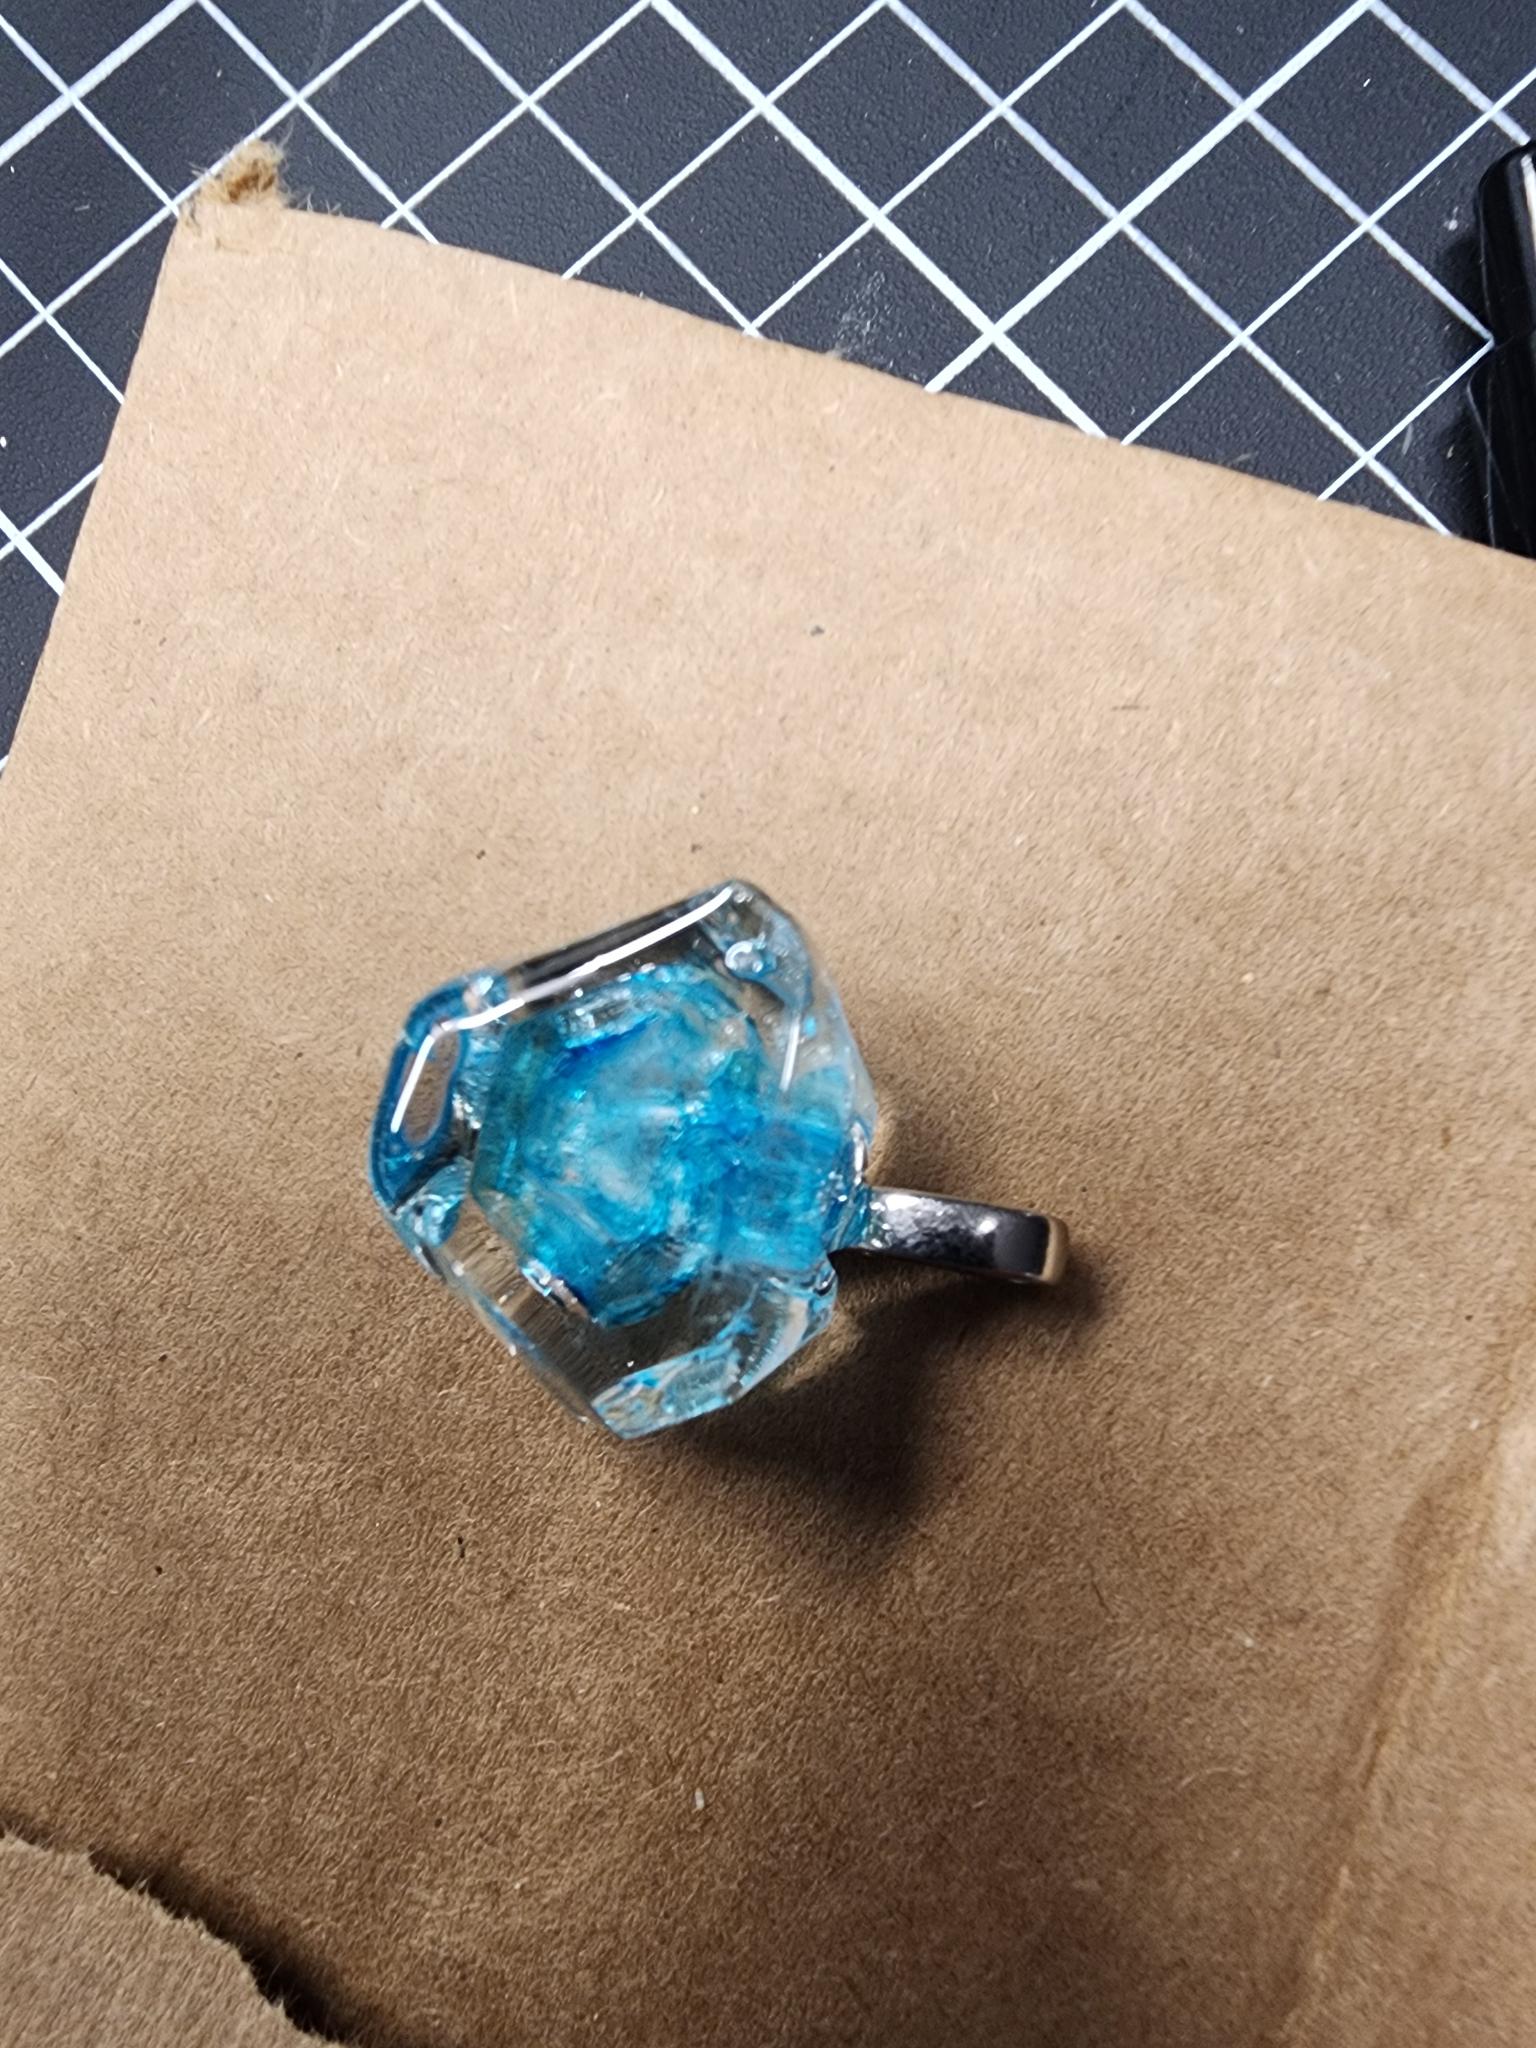
For the bail, I first used super glue directly on the crystal. That did not work very well. I also tried E6000, which worked better, but the bail only became reliably solid once the whole assembly was sealed into epoxy. The practical lesson is that glue can position the hardware, but the cured epoxy needs to become the real structure carrying the load.
After the acrylic cures, embed or cap the crystal in clear resin. You can use a mold, a bezel-like cavity, or a shaped housing depending on the look you want. If the bail or loop is carrying load, it needs to be captured by the resin body, not just stuck to the crystal face.
Pendant Lessons
- Do not skip sealing. Alum and humidity are not friends.
- Light acrylic coats are safer than flooding the surface.
- Super glue alone was weak on the bail, and E6000 was better but still not the final answer.
- Resin carries the durability. The crystal provides the visual center.
- Plan the bail or loop before you pour, not after everything cures.
Aside: What 3D Printer Automation Helps With
After the kit phase, I started using a Bambu Labs X1C 3D Printer as a controlled platform for the process. The fun idea was pushing the printer beyond just polymers. The practical idea was repeatability, gentle automation, and better process control.
The most interesting code in the project was the part that treated alum as a solubility problem instead of a simple temperature timer. I pulled the empirical alum values from Sigma-Aldrich’s solubility table for compounds in water vs. temperature, specifically the row for aluminum potassium sulfate dodecahydrate, and fit a simple exponential model to that data:
temps = np.array([0, 20, 40, 60, 80, 90], dtype=float)
sol  = np.array([2.96, 6.01, 13.6, 33.3, 72.0, 109.0], dtype=float)

def exp_model(T, a, b, c):
    return a * np.exp(b * T) + c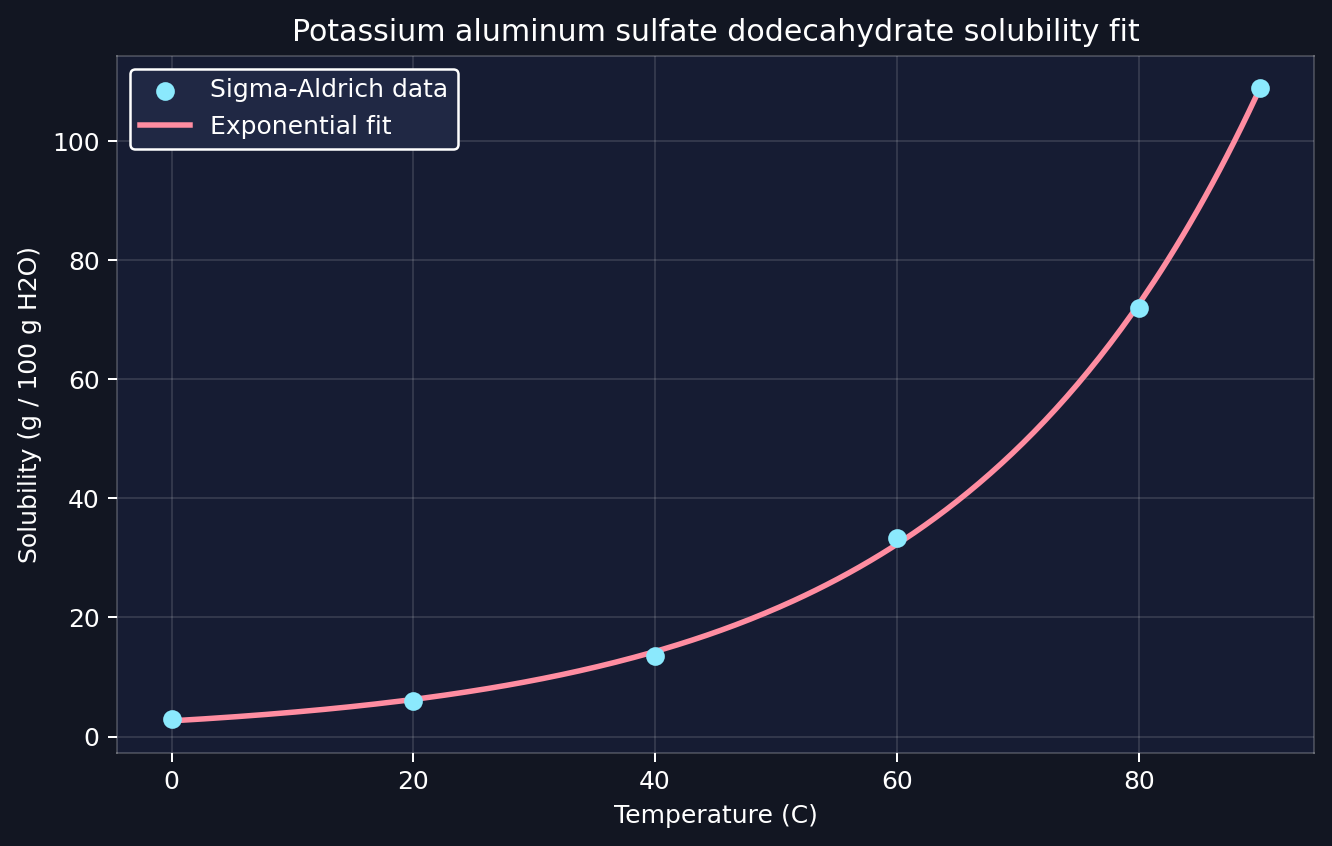
That feeds into a Clojure ramp planner whose structure is the part I like most: define the model once, convert temperature to solubility, linearly interpolate there, then map back to target temperatures for the printer bed. That avoids the crude “drop one degree every few minutes” approach.
(def solubility-model
  {:scale-factor 2.90593075
   :growth-rate 0.04027847
   :baseline-solubility -0.26880913})

(defn calculate-ramp-temperatures
  [{:keys [start-temp-c target-temp-c ramp-duration-min update-interval-min]}]
  (let [start-sol  (temperature->solubility start-temp-c)
        target-sol (temperature->solubility target-temp-c)]
    (mapv (fn [i] ...) (range ...))))
On the control side, the script is really two layers. `bambu_move` is the human-facing helper: you say `up`, `down`, `left`, `right`, `fwd`, or `back`, give it a distance and feed rate, and it translates that into the printer's actual axis directions. In this setup, some of those signs are reversed, so `up` becomes negative `Z`, `down` becomes positive `Z`, and the `X` direction is flipped for left versus right.
bambu_move() {
  case "$subcmd" in
    up)
      axis="Z"
      signed_dist="-$dist"
      ;;
    left)
      axis="X"
      signed_dist="$dist"
      ;;
  esac

  bambu_send "$label" ...
}
Under that, `bambu_send` is the transport layer. It takes a human-readable log note, builds the multiline G-code payload, wraps it in the JSON message the printer expects, and publishes it over MQTT.
bambu_send() {
  local human_msg="$1"
  local seq
  seq=$(date +%s)

  local gcode="; ${human_msg}\n"
  local payload
  payload=$(printf '{"print":{"sequence_id":"%s","command":"gcode_line","param":"%s"}}' "$seq" "$gcode")

  mosquitto_pub ... -m "$payload"
}
That structure is what makes the motion side coherent: `bambu_move` handles human intent and axis translation, and `bambu_send` handles the actual machine message.
bambu_send "$label" \
  "M1002 push_ref_mode" \
  "G91" \
  "G1 ${axis}${signed_dist} F${feed}" \
  "G90" \
"M1002 pop_ref_mode"The timelapse shows the bed temperature dropping from about 62 °C to 50 °C. Ideally I would have had a temperature probe in the water itself, but in this setup I was manually guestimating thermal conduction from the bed into the vessel.
What Works
- Using printer hardware as a stable warm platform with controlled temperature changes.
- Logging chamber temperature and humidity so repeatable runs are possible.
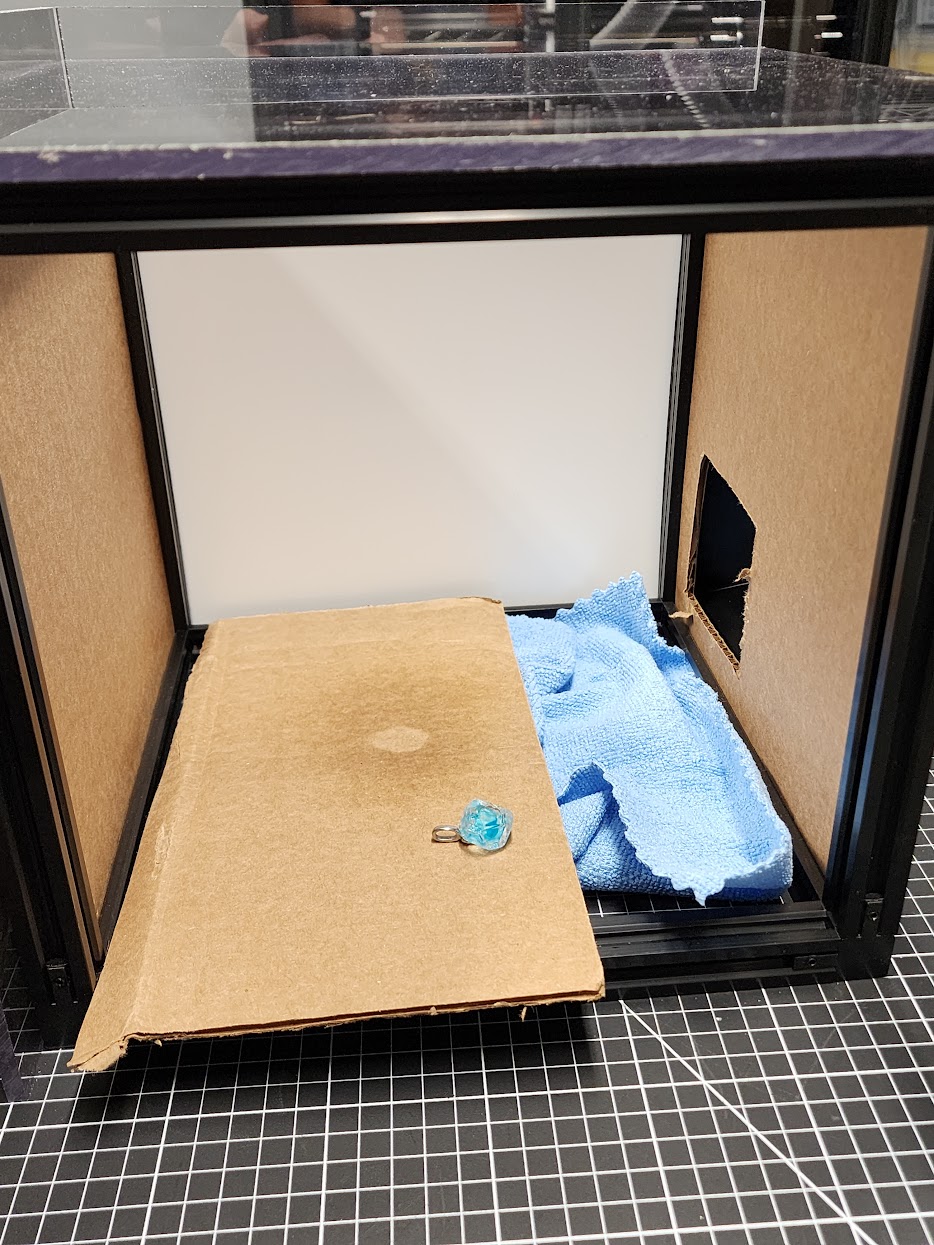
- Timelapse capture for comparing growth behavior between batches.
- Small, deliberate motion commands when you need positioning without hand wobble.
What Does Not
- Abrupt cooling. It tends to ruin clarity and symmetry.
- Frequent movement of the crystal or jar. Disturbance shows up in the growth.
- Expecting full automation to solve chemistry problems. Clean solution and patience still dominate the result.
- Spilling alum crystal solution on your textured PEI sheet.
- Tying up your 3D printer for days growing crystals unless you are willing to dedicate the machine to the experiment.
- Leaving an unsealed alum crystal exposed and expecting it to survive as jewelry.
Practical Tips
- Slow growth usually gives clearer, more symmetrical crystals.
- Distilled water works better than tap water because it introduces fewer impurities.
- If the crystal becomes cloudy, remake and refilter the solution before continuing.
- If you want a larger specimen, refresh the solution instead of letting one jar become overly contaminated.
- If you want a wearable piece, grow for shape first and engineer durability afterward.
Condensed Recipe
- Heat 250 g distilled water to about 176 to 194 F / 80 to 90 C.
- Stir in roughly 180 to 270 g alum until the solution is saturated and a little stops dissolving.
- Filter the hot liquid through double to quadruple coffee filters into a clean jar.
- Let it cool and pick the best seed crystal.
- Suspend the seed on fishing line in a fresh filtered saturated solution.
- Let it grow slowly with minimal movement and refilter whenever the batch gets cloudy or crusty.
- Dry the finished crystal fully.
- Seal it with multiple light coats of clear acrylic in a ventilated setup.
- Attach the bail if needed, but rely on epoxy encapsulation for real strength.
- Mix the resin 1:1 by volume, encapsulate the crystal, and shape or wipe any edge buildup before full cure.